Get Started
Get Started
Start Using ShotPerch in Three Minutes
Download, allow one permission, and start taking screenshots. Supports macOS 14.4 and later.
Download from the Mac App Store
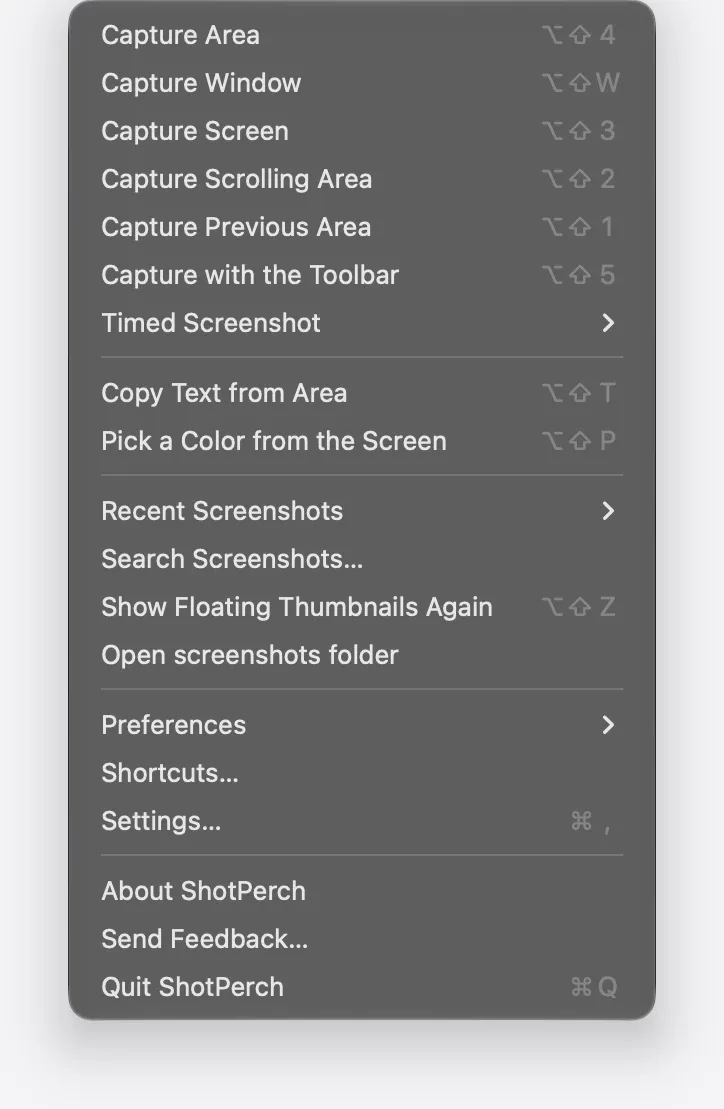
Search for ShotPerch on the Mac App Store—it’s free to download. Once downloaded, open it and the ShotPerch icon will appear in the menu bar—all features and settings are accessed from there.
Allow Screen Recording
The first time you take a screenshot, macOS will ask you to allow ShotPerch to record the screen. Go to System Settings › Privacy & Security › Screen & System Audio Recording (called Screen Recording on macOS 14), turn on ShotPerch, then reopen the app. This permission is used only for screenshots; nothing on your screen is uploaded.
Take Your First Screenshot
Press ⌥⇧4, drag to select an area and release the mouse. The screenshot opens in the editor, where you can annotate, copy or save it right away.
Want ⇧⌘3 and ⇧⌘4 to Use ShotPerch Too?
macOS's built-in screenshot shortcuts are captured by the system first. To open ShotPerch with the keys you know, just set it up once with these two steps:
- First, go to System Settings › Keyboard › Keyboard Shortcuts › Screenshots and turn off the built-in screenshot shortcuts
- Then, on the Shortcuts page in ShotPerch settings, assign keys like ⇧⌘4 to features such as Capture Area
- ShotPerch never changes macOS screenshot settings on its own, so you can switch back anytime